Customer Support : 020-61923200, [email protected] | Call and Trade : 020-61923220

Elder Ray Index
#momentum #trendfollowing
Inventor: Dr. Alexander Elder
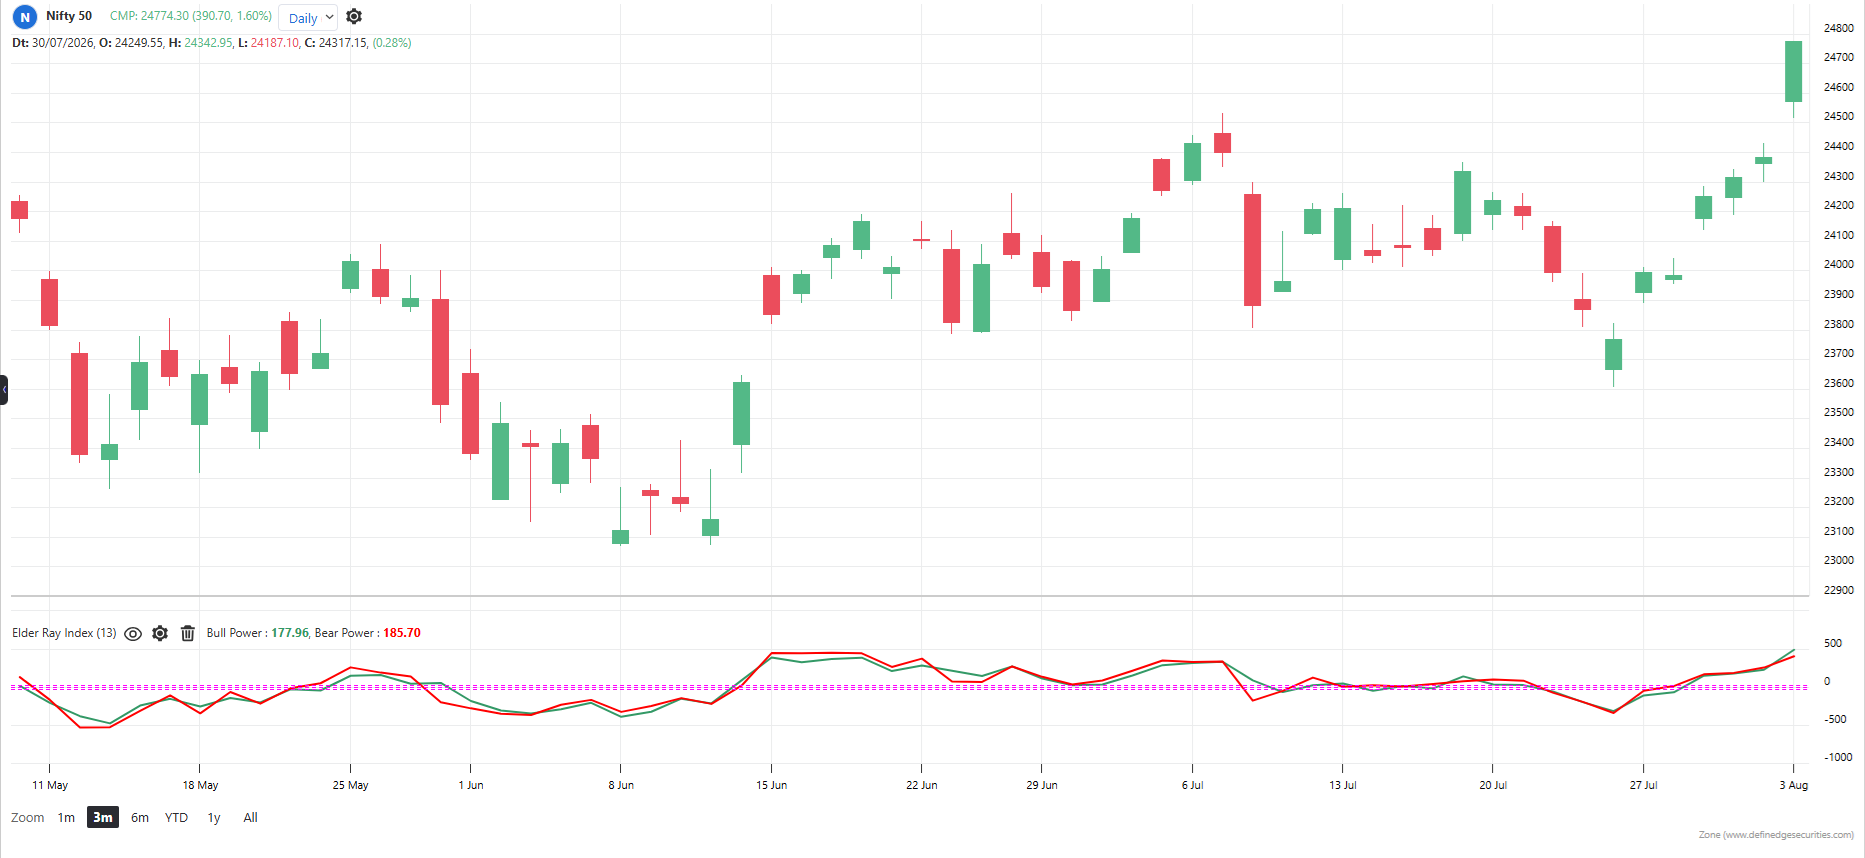
Also by Dr. Elder. It measures the muscle of bulls and bears separately. Bull Power = High minus 13 EMA (how far buyers pushed above value). Bear Power = Low minus 13 EMA (how far sellers pushed below value). Both are histograms around zero, read together with the 13 EMA slope.
Default period: 13 (EMA)
Bull Power above zero indicates buyers can push price above value. Bear Power below zero indicates sellers can push price below value.
Useful readings:
Bull Power rising in an uptrend: Buyers strong, trend healthy
Bear Power rising toward zero in an uptrend: Sellers giving up, dips ending
Bear Power deeply negative: Sellers dominant
Price makes new high but Bull Power peak is lower: Buyers tiring, bearish divergence
Price makes new low but Bear Power trough is higher: Sellers tiring, bullish divergence
Best signals come in the direction of the 13 EMA slope
Objective rules:
Bullish: 13 EMA rising AND Bear Power is below zero but rising.
Bearish: 13 EMA falling AND Bull Power is above zero but falling.
Buy filter: Take longs only when 13 EMA is rising
Short filter: Take shorts only when 13 EMA is falling
Divergence rule: Price at new low but Bear Power trough higher than previous, prepare to buy on trigger
What makes it unique:
It splits the market’s muscle into separate bull and bear components instead of netting them. You can watch one side give up while the other holds – invisible to single-line tools.
The indicator table value in TradePoint & RZone also provides you with a list of all values of this indicator for any group of stocks. This will allow you to compare the readings of this indicator across different stocks.
This indicator is also available in the System Builder of RZone & TradePoint for all charting methods. Using the system builder, you can develop various strategies based on the different conditions already present in this indicator. Additionally, it can be used with other indicators or price patterns to develop effective trading strategies. For any group of stocks and market segments, you can scan and backtest stocks based on those strategies.
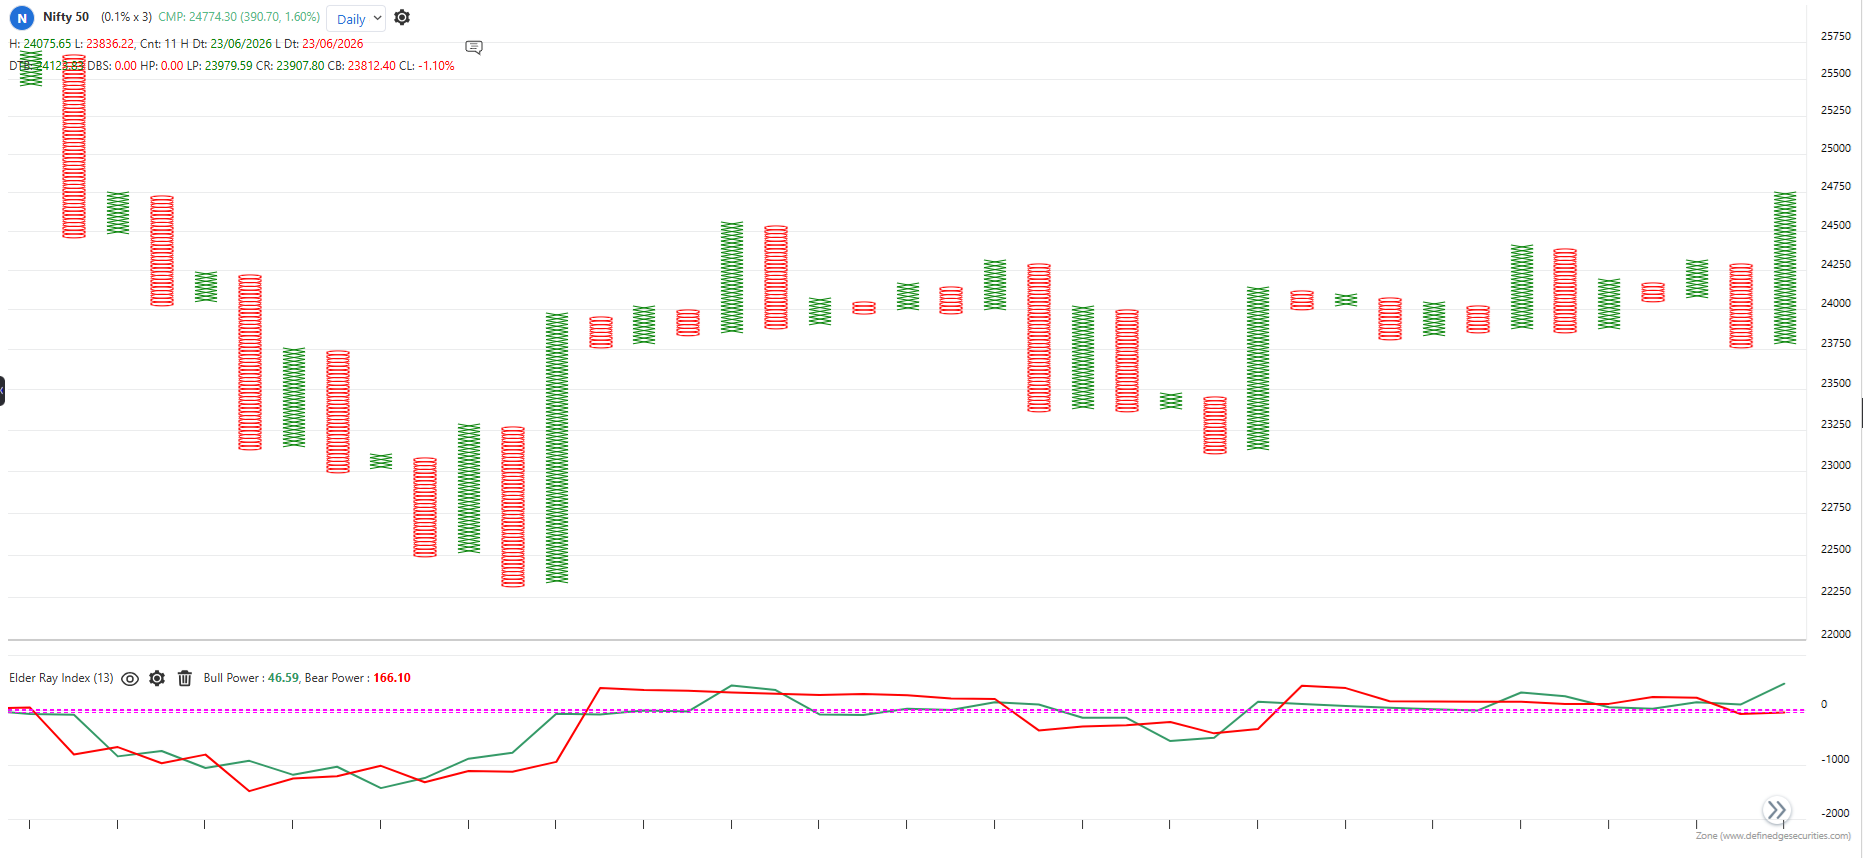
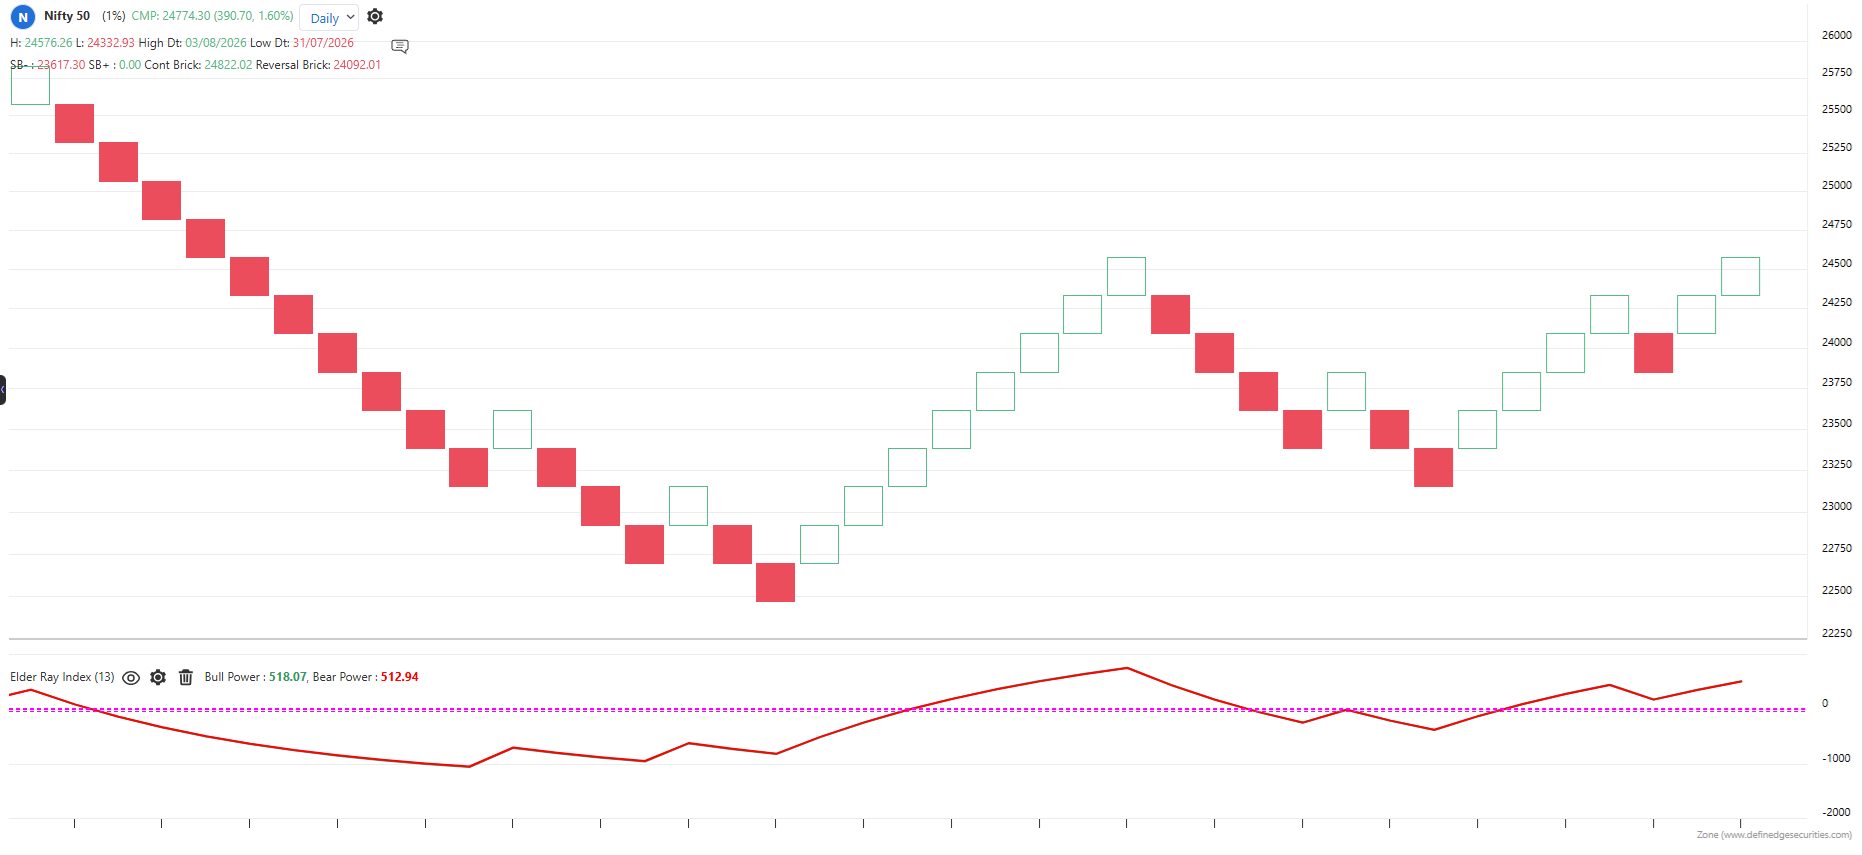 The indicator is applicable to all types of charting. Calculated based on the number of columns on P&F charts, bricks on Renko charts, lines on Line-break charts, candles on Heikin ashi charts, and lines on Kagi charts. While the formula and reading of the indicators remain the same, they become more dynamic on these charts.